Sewing Velcro Onto Fabric
Velcro has become a quiet hero in the world of fasteners. We use it on shoes, jackets, bags, and even in home decor without thinking twice. It is easy to use, reliable, and can handle daily wear and tear like a pro. But what happens when you want to sew Velcro onto fabric yourself? It might seem simple, but there are a few tricks that can make your project turn out clean and long-lasting. Whether you are repairing a jacket, crafting a custom bag, or designing your own gear, knowing how to properly sew Velcro can make all the difference.
Choosing the Right Velcro and Supplies
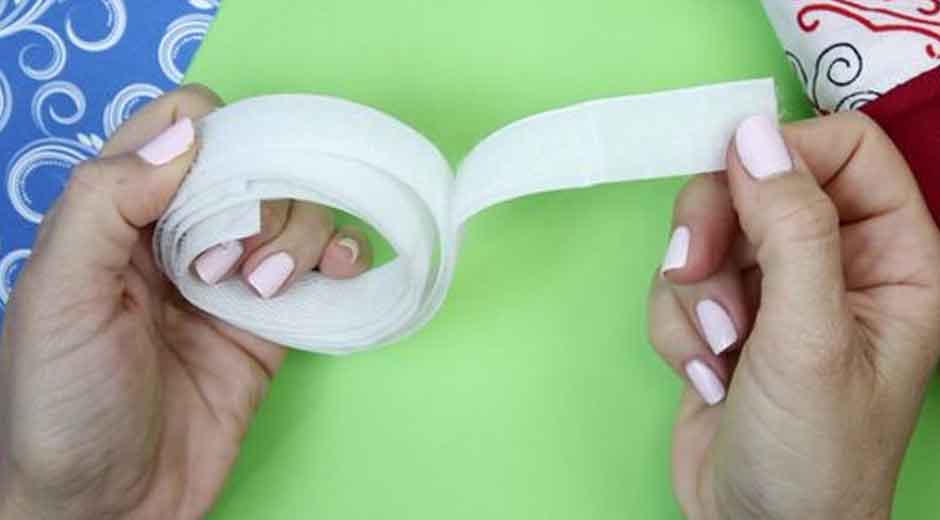
Before you get started, it is important to pick the right kind of Velcro. Not all Velcro is created equal. For sewing projects, you want to choose sew-on Velcro strips rather than adhesive ones. The adhesive kind may seem easier at first, but they do not hold up well to repeated use, washing, or heavy stress. Sew-on Velcro is designed to be more durable and will stay in place through years of wear.
In addition to good quality Velcro strips, you will need a few other items. Grab a sharp, thick needle that can handle the bulk of the Velcro material and your chosen fabric. Make sure you have thread that matches the color of your Velcro for a clean, professional look. You may also want to keep a sturdy pair of scissors nearby for cutting the Velcro to the exact size you need.
Cutting and Prepping Your Velcro
Start by cutting your Velcro to the desired length. Think carefully about how much Velcro you actually need for your project. Too little and it won’t hold securely. Too much and it might feel bulky or stiff. After you cut the length you need, trim the corners of the Velcro at a slight angle. Cutting the side seam corners helps prevent the Velcro from curling up at the edges over time and gives it a neater appearance.
Next, decide which side of the Velcro will go where. The hook side (the rough, scratchy part) usually faces away from your skin, while the loop side (the soft part) faces inward or toward your body. This helps avoid irritation and makes the item more comfortable to use.
Pinning the Velcro to the Fabric
Once your Velcro is cut and ready, place it on the fabric exactly where you want it to be attached. Use sewing pins or fabric clips to hold it in place while you sew. Make sure the Velcro is flat and straight. Any wrinkles or misalignment will show once it is sewn down, and it might affect how well it holds later on.
If you are working with a particularly thick fabric or multiple layers, you may need to adjust your pins to make sure they stay secure as you sew. Take your time here. Proper placement at this stage will save you a lot of frustration later.
Threading the Needle and Getting Started
Thread your needle with a strong, durable thread that matches the Velcro. Knot the end securely. If you are using a sewing machine, make sure you have a heavy-duty needle that can handle both the fabric and the Velcro.
Set your machine to a straight stitch, which works best for this type of sewing.
Start your stitch just a bit inside the edge of the Velcro. Sew slowly and steadily around all four sides, staying close to the edge for a neat finish. Do not rush this part. The slower you go, the more control you have, which means straighter stitches and a stronger hold.
Sewing by Hand
If you are sewing by hand, the process is similar but requires a bit more patience. Push the needle through both the fabric and the Velcro, pulling the thread tight with each stitch. Keep your stitches even and consistent. A straight stitch all the way around the edge works best. If you want extra strength, you can add a second row of stitching closer to the center of the Velcro strip.
Hand sewing takes a little more time but gives you excellent control, especially if you are working with delicate or tricky fabrics where a sewing machine might struggle.
Finishing the Stitch
Once you have sewn all the way around, tie off the thread securely. You can knot it a few times on the underside of the fabric to make sure it does not come loose. Trim off any excess thread for a clean finish. Inspect your stitches to make sure there are no gaps or loose areas.
Testing and Adjustments
After you finish sewing, test the Velcro to make sure it holds well and lines up correctly with its matching piece. Press it together and pull it apart a few times to check the grip. If you notice any weak spots, you can always add a few extra stitches for reinforcement.
Care Tips for Long-Lasting Velcro
Once your Velcro is sewn in place, take a few simple steps to keep it in good shape. Always close the Velcro before washing to keep lint and hair from clogging the hooks. Occasionally clean the Velcro with a small brush or tweezers to remove any debris that does collect. The cleaner your Velcro stays, the longer it will maintain its sticking power.
Why Sewing Velcro Is Worth the Effort
Sewing Velcro onto fabric might take a bit more time than using glue or adhesive strips, but the results speak for themselves. A well-sewn piece of Velcro can handle daily use, repeated washing, and the stress of pulling and tugging far better than its adhesive counterpart. Plus, it gives your project a polished, professional look that will last.
Whether you are repairing an old jacket, customizing a bag, or crafting something completely new, knowing how to sew Velcro properly opens up all kinds of possibilities. It is one of those simple skills that can make a big difference in the quality and durability of your finished work. So the next time you reach for Velcro, you will know exactly how to make it work for you, one stitch at a time.